

Step 1
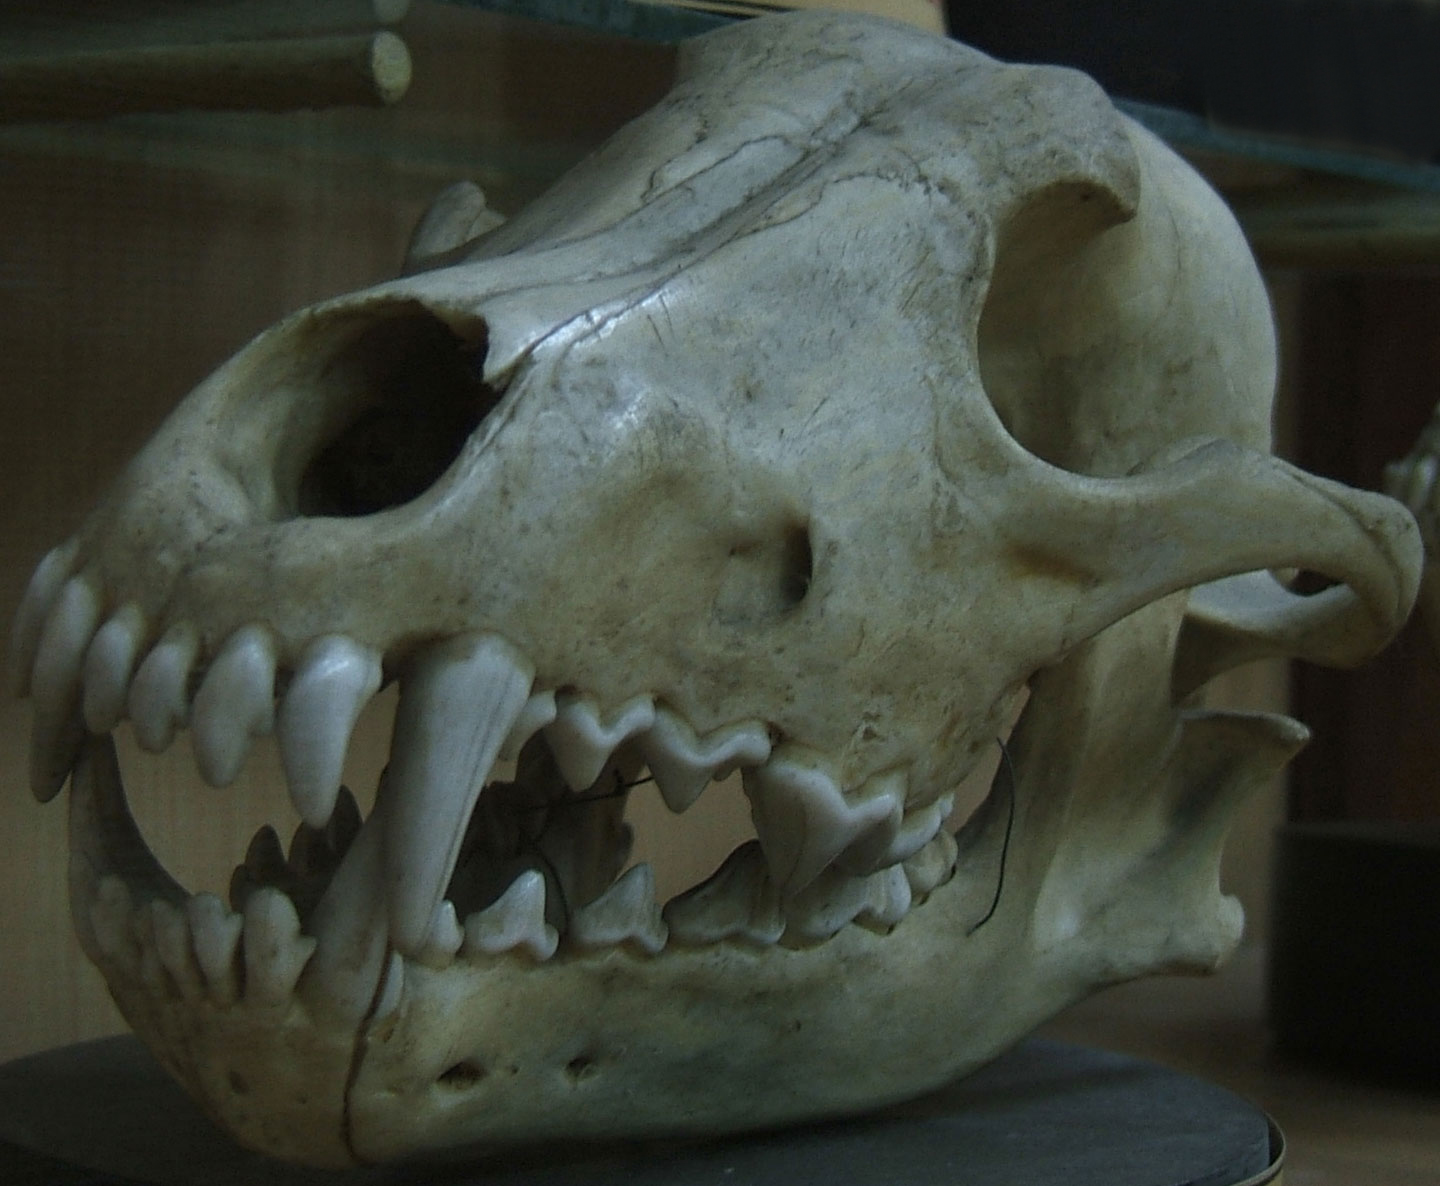
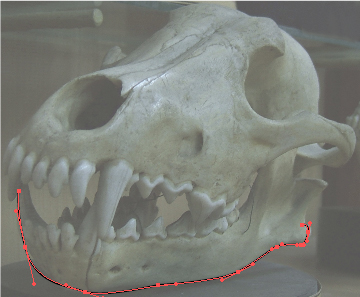
This time I will not use a hand draw sketch, but an image of a real skull. I got mine from a museum that I've visited a while back. Note: If you try using pictures from museums or expositions please check the copyright issues with the museum's personnel before using pictures of exposed items. If you don't plan to visit a museum soon, you can access the source image of this tutorial, and use mine.
Open a new file in Illustrator (Command + N), browse on your computer to where you have the picture of the skull, select and copy it (Command + C). Go to Illustrator again and paste it (Command + V) into your Illustrator file.
Step 2
Now that you have the skull image in Illustrator, you need to lower the transparency so you can trace it easier. Select the picture using the Selection Tool (V) and bring down the Opacity to 70% from the Transparency Box (Command + Shift + F10).

Step 3
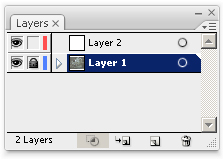
Now lock the layer with the image and open a new one on top so you can start drawing the vectors.
Step 4
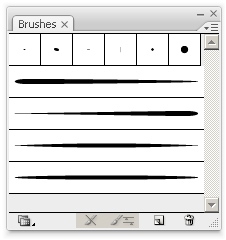
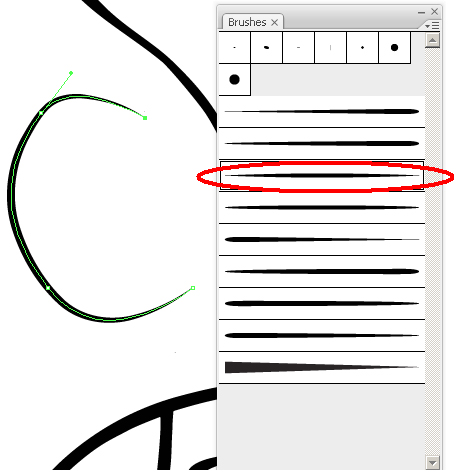
Before you start drawing the vector outlines you need to make sure you have the proper brushes handy. For PLUS Members, I included a set of eight custom brushes I usually use for tracing.
Step 5
New lets start tracing! Set your Fill Color to none and Stroke Color to black.

Step 6
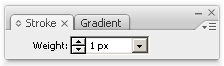
Bring up the Stroke panel because you'll need to change the stroke weight of the brushes in the next steps.
Step 7
Bring up the Brushes panel Window > Brushes (F5) and select the brush you will use for tracing.
Step 8
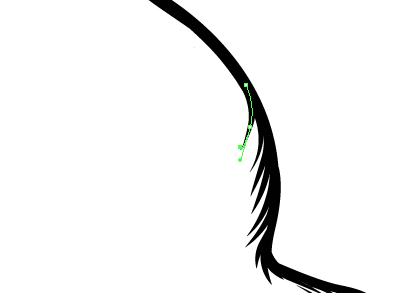
You start with the contour and then you continue with the inner shapes. For the contour you select a regular calligraphic brush (7 pt. Round) and use the Pen Tool (P) to start tracing.
Step 9
After finishing tracing the contours, now let's try to spice things up by adding stylized (jagged ) interior lines to the skull. I will start with adding them to the outer side of the drawing and continue towards the interior using Art Brush 2.
Step 10
To draw the eye socket you need to change the brush to Art Brush 12 with a stroke of 3 px and draw the outer part of it.
Step 11
Next add the jagged lines to the eye socket as well using Art Brush 4 with a stroke of 3 px.
Step 12
Next, continue adding shades (jagged lines), using different brushes and stroke weights until most of the line art is done. Feel free to experiment, and take hints from the image below.
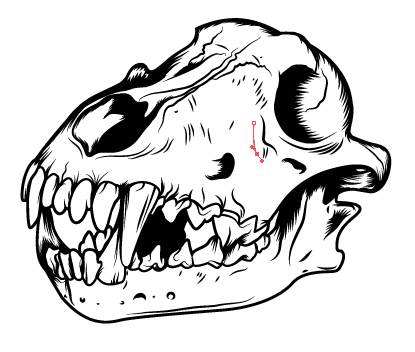
Step 13
Now add a few lines to the interior of the drawing to give it more depth. If the skull doesn't have any, it doesn't mean you cannot draw any, use your imagination here.
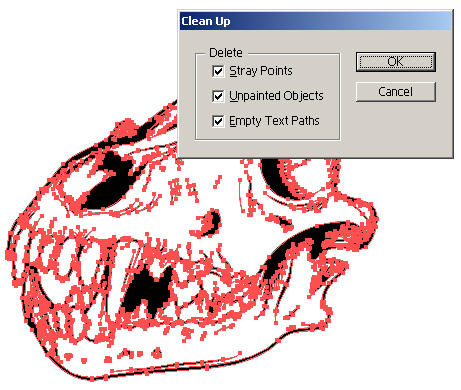
Step 14
Now that you've finished drawing the lines, you have to add the grey part of the design. Before you go further; Select all (Command + A), Expand the appearance (Object > Expand Appearance), and Clean up (Command + Shift + C).
Step 15
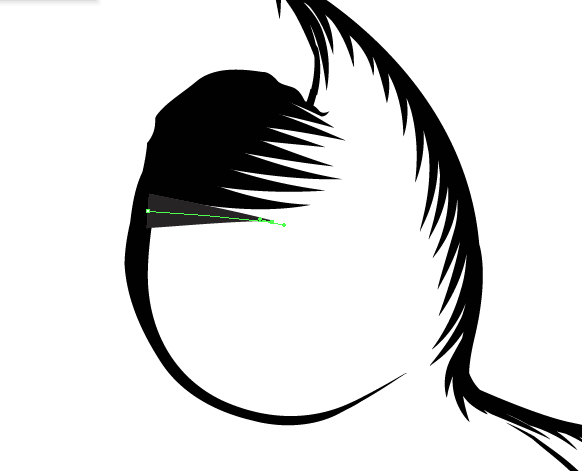
Using the Pen tool (P) with no Stroke color and a grey fill color, start drawing towards the black outlines without overlapping them.
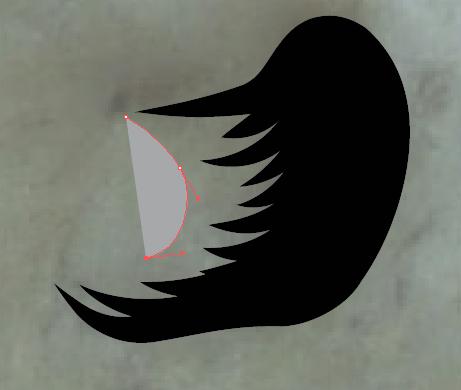
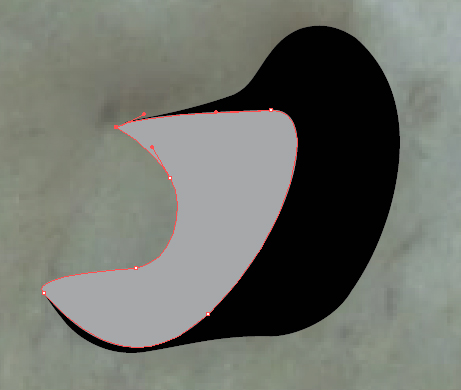
Step 16
Now select the gray shapes and Send to Back (Command + Shift + Left Bracket).
Step 17
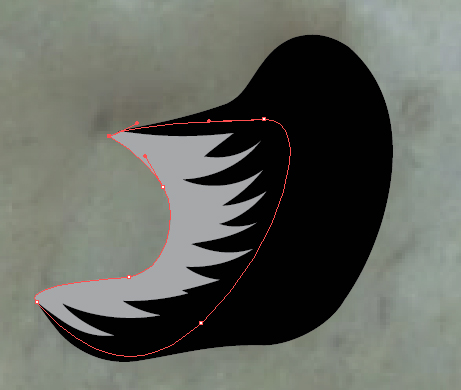
Repeat Steps 15-16 until you think the amount of grey is enough to add some shading and interest to the design.

Step 18
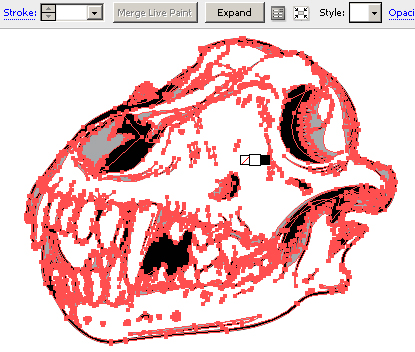
Now we need to add the white, so select white as a fill color. Next, select all (Command + A), bring up the paint bucket (K), and-double click on an empty area of the skull to fill the color. Finally, press the expand button.
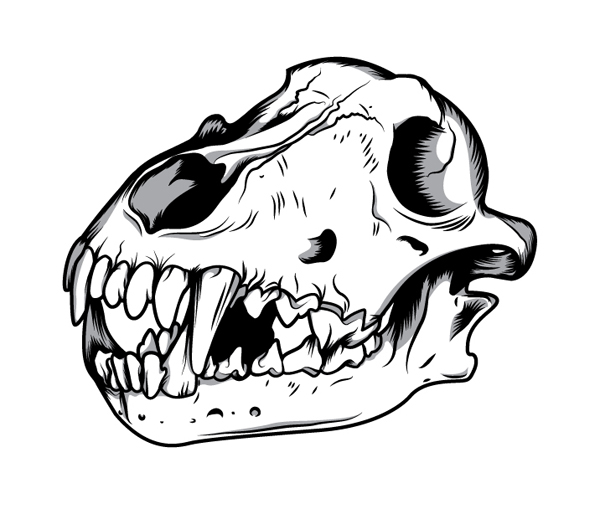
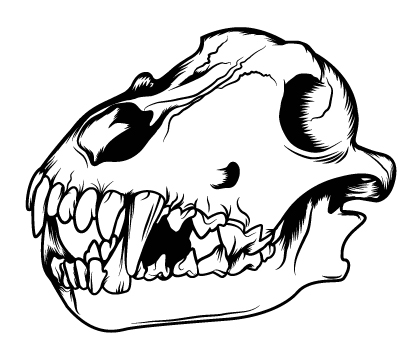
Final Image
Below is the final image. Have fun making this!
reference = http://vectortuts.com
0 comments:
Post a Comment